Thumbnail Cache gets deleted on every reboot in Windows 10 Fall Creators update. It is very annoying. Is there any way to sort out the problem: Thumbnail Cache auto deleted in Windows 10?
Windows 8 and later operating systems come with a new Automatic maintenance service which regularly deletes unnecessary files and performs system optimization tasks. This service might also delete thumbnail cache files. To sort out the issue Thumbnail Cache auto deleted in Windows 10, you can follow the methods given below:
Method 1: Disable some features in Task scheduler to fix the issue Thumbnail Cache auto deleted in Windows 10:
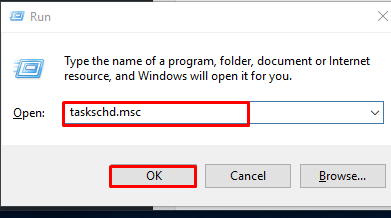
1. Press Win+R keys together to launch RUN dialog box, then type taskschd.msc in RUN box and press Enter.
2. It’ll open Task Scheduler program. Now go to:
Task Scheduler Library -> Microsoft -> Windows -> TaskScheduler
3. In right-side pane, you’ll see following 4 tasks:
- Idle Maintenance
- Maintenance Configurator
- Manual Maintenance
- Regular Maintenance
4. You need to disable following 3 tasks:
- Idle Maintenance
- Manual Maintenance
- Regular Maintenance
Note: To disable them, right-click on the task and click on Disable option.
5. Sometimes “Maintenance Configurator” task may re-enable the other 3 tasks. In such case, you’ll need to delete all 4 tasks. Click on each task and press Delete key.
But Windows will not allow many users to delete these tasks right from Task Scheduler program. If you also face this problem while deleting those tasks, do as following:
a. Type tasks in RUN dialog box and press Enter. It’ll show permissions related message, click on Continue button. It’ll open C:\Windows\System32\Tasks folder which stores all tasks listed in Task Scheduler program.
b. Now go to Microsoft\Windows\TaskScheduler folder and delete all 4 tasks files. If you face any permission related issue, take ownership of the files as mentioned in this guide and then delete the task files.
6. That’s it. Now you have disabled Windows automatic maintenance service and it should fix the automatic thumbnail cache deletion problem.
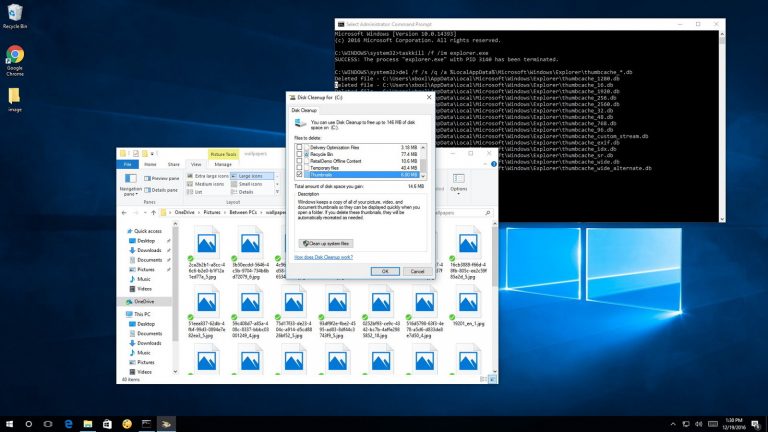
Method 2: Perform a disc clean up to fix Thumbnail Cache auto deleted in Windows 10:
You can rebuild the thumbnail cache on Windows 10 by using the Disk Cleanup tool. To do so, follow the steps given below:
- Open File Explorer.
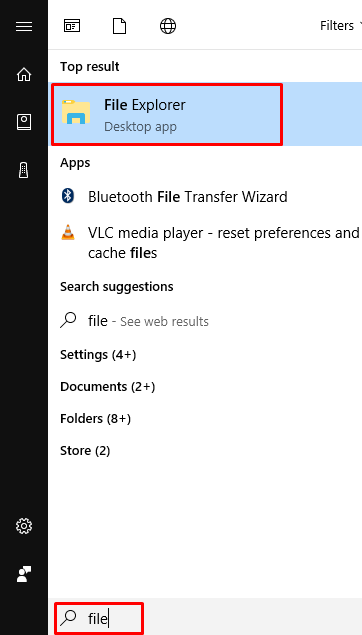
- On the left pane, click This PC.
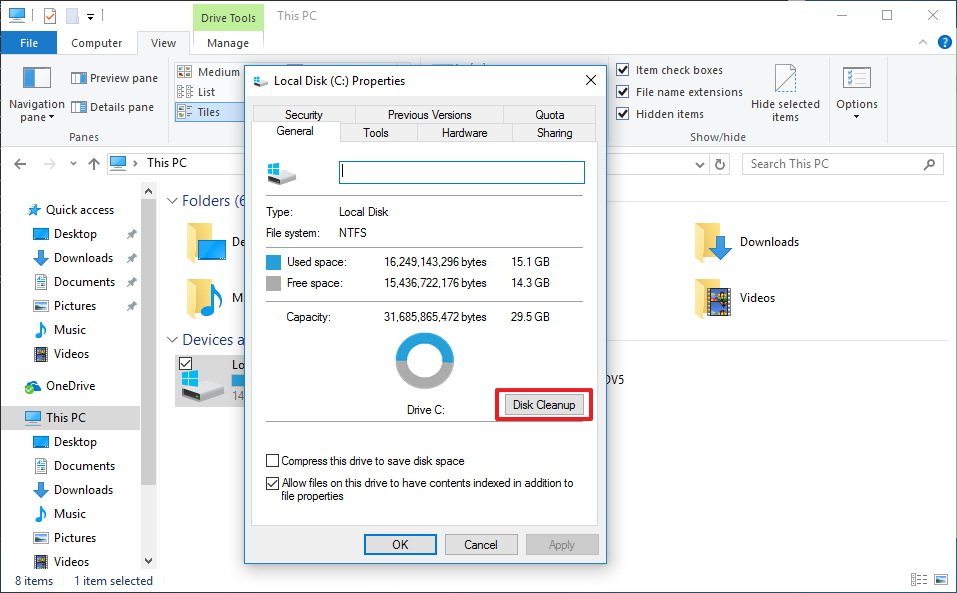
- Right-click the C: drive where Windows 10 is installed, and select Properties.
- Click the Disk Cleanup button.
 5. Check the Thumbnails option, and uncheck all the other options.
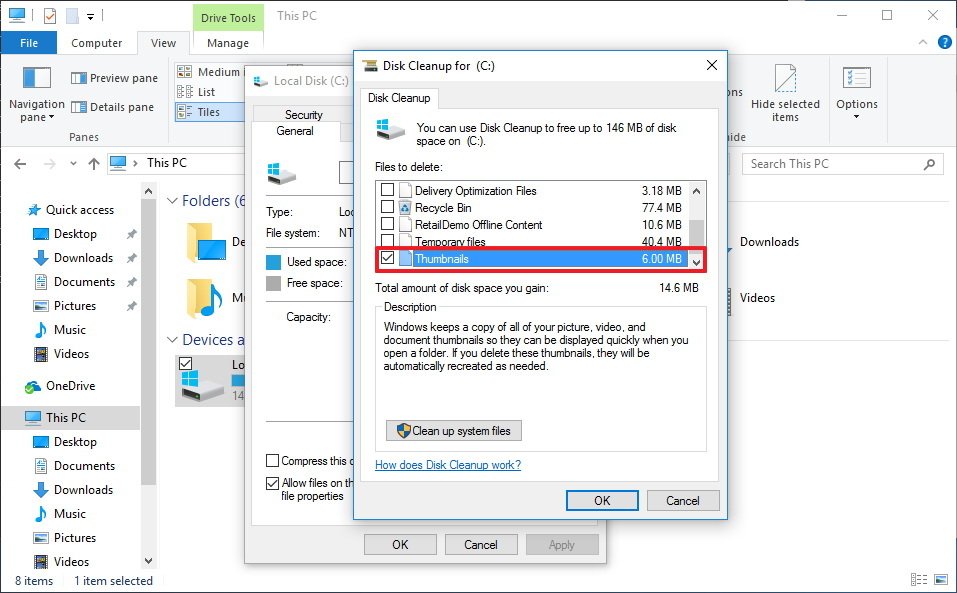 6. Click OK.


7. Click Delete Files to confirm and to complete the task.
Method 3: Change the Settings to fix Thumbnail Cache auto deleted in Windows 10
- Open File Explorer. And click on the View tab.
- Click Options to open Folder Options.
- Click on the View tab.
- Make sure to clear the check mark for the Always show icons, never thumbnails option.
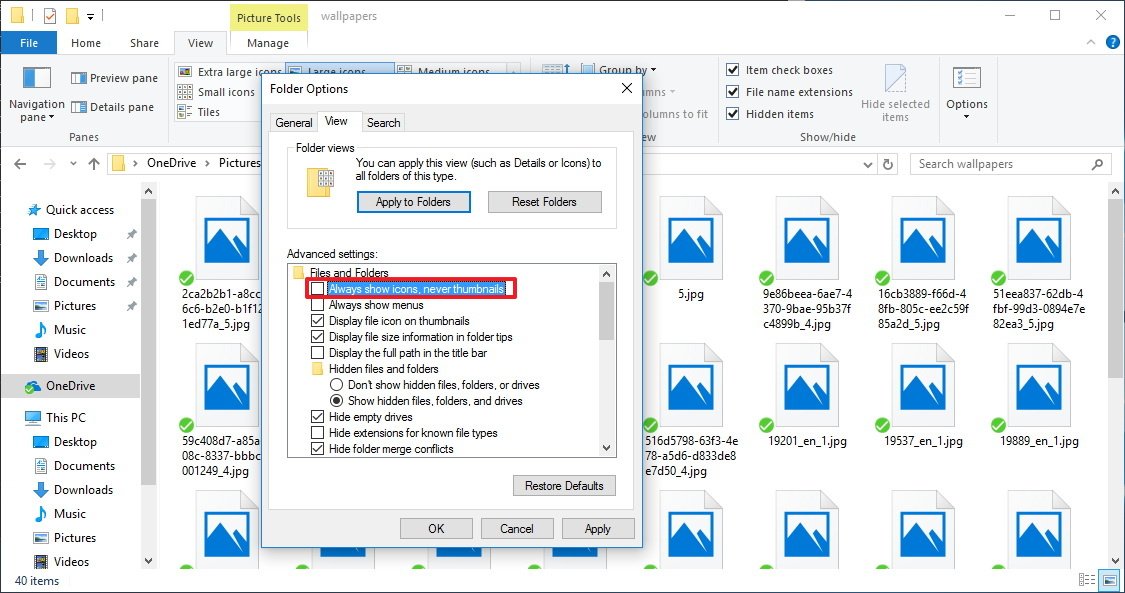
- Click Apply.
- Click OK to complete the task.
If the option was causing the problem, you should now be able to see thumbnails again for files and folders on Windows 10.
Check if the issue of Thumbnail Cache auto deleted in Windows 10 still persists. If it is still there, you may contact us.
2 comments
Awesome!! It’s just what I need!! Thanks!…………..