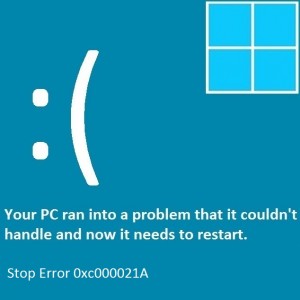
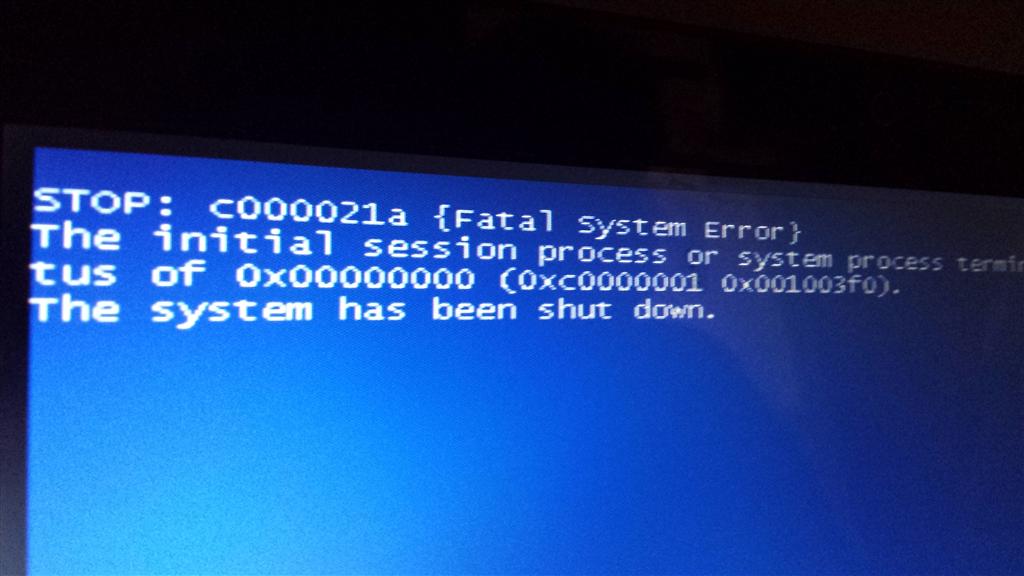
I am getting an error code 0xc000021a with a blue screen.
Error Code 0xc000021a: As I power it up I get the usual Toshiba logo on the screen and after some time it comes up with a pale blue screen and a message saying something went wrong and we will need to restart your computer for you with an error code 0xc000021a.
If I leave it switched on, this situation repeats its self continuously. I have taken the battery out and tried again but the problem is still same. How to get rid of this error?
Error code 0xc000021a occurs mostly due to 2 main reasons which are:-
- Exe: This file can be damaged due to mismatch of System Files. 3rd party software can also damage this file. If this file gets damaged, then this error causes the PC to boot to the Windows Login.
- Exe: This file belongs to Microsoft server or client. So the result is error code if it is damaged.
However, there are many methods to sort out this issue, you can try any of the following methods.
Method 1: Repair Corrupt System Files
Download and run Reimage Plus by clicking the link given below to scan for corrupt files. Repair all corrupt and missing files.
Method 2: Reset the computer’s BIOS
If the error code 0xc000021a is still there, you can proceed with the next method and it is to reset your computers’ BIOS.You can reset a computer’s BIOS by simply removing the CMOS battery from its motherboard and leave it removed for a couple of minutes. Although this trick doesn’t work with laptops as their motherboards are not readily accessible.To reset your computer’s BIOS, follow the steps given below:
- Shut the computer down.
- Remove all power cables from the computer and electricity must be cut off from the PC.
- Open the computer’s chassis.
- Locate the CMOS battery of the computer (on the motherboard of a computer) and remove it.
- Wait for around 1-2 minutes.
- Replace the battery once you have waited for long enough.
- Put the computer’s casing back together at the end.
Now start the computer and check whether it successfully boots into Windows.
Method 3: – Mostly this method is suitable for maximum users as it is very effective and easy to use. This issue can also have resolved by installing media creation tool. You can install the Media Creation tool by clicking on the link given below: – https://www.microsoft.com/en-us/software-download/windows10
After installation follow the steps given below:-
1. First of all, start your computer from the installation media. Insert disk or USB stick and restart your computer. If you see a message asking you to “Press any key to boot from DVD,” do the same. If you don’t see the message, you might need to change the boot order in your computer’s BIOS settings so that it first starts from the disk or USB. When you see the ‘Install Windows‘ page, tap or click repair your computer‘ link to start the Windows Recovery Environment.
2. In the Windows Recovery Environment, Click Troubleshoot on the Choose an option screen.
3. Click, ‘Advanced Options’ and then click on ‘Startup Settings‘ and then ‘Restart’ your PC at the end.
After completing the repair check if you are able to boot into your computer.
You can contact us for more help on this issue.