Getting an error code 0xc1900107 while updating windows 10
Error code 0xc1900107: I have purchased a laptop last year with Windows 10 installed. Recently received an update message from Microsoft to update.
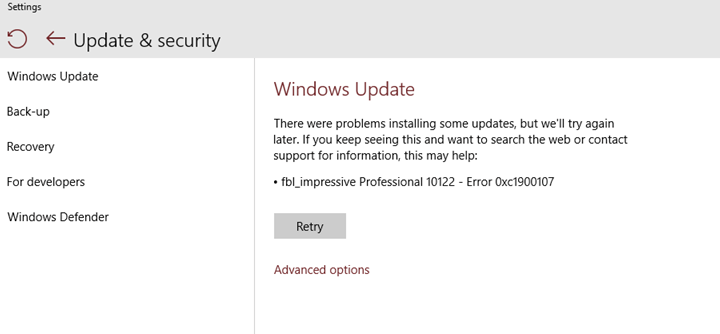
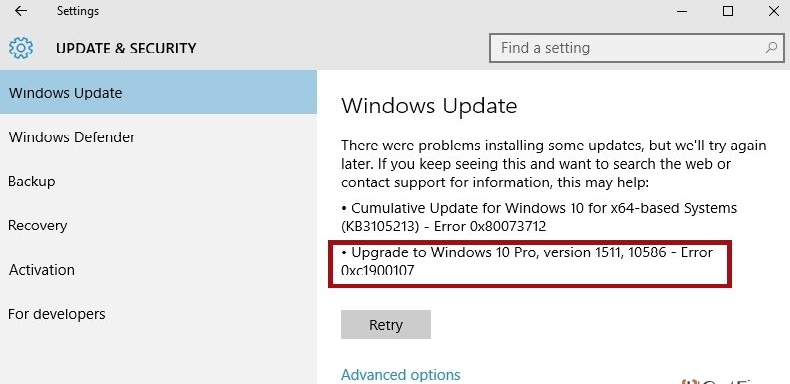
I got an error message 0xc1900107 while updating to windows Anniversary update. Suggest the solutions to fix this issue. Error code 0xc1900107 is usually associated with pending Windows updates, is caused by either malfunctioning Windows Update components or corrupt update files in the folder where Windows stores downloaded material for Windows updates.
It may appear like shown in the image given below:-
Method 1: – Run Windows Update troubleshooter: –
- Type Troubleshooting in the search box in start tab and select Troubleshooting.
- Click on View all option in the left pane.
- Find and click on the Windows Update troubleshooter.
- Follow the on-screen instructions.
Method 2:- Check for the pending updates:–
If the Error code 0xc1900107 issue is unresolved, check and install all the pending updates (if any), try updating the windows and check if the issue is resolved.
1) Follow the steps below to check for the pending updates.
2) Press Windows key + I key and click on Update & security Windows Update.
3) Click on Check for updates.
4) Install the pending updates (if any).
Method 3: – Uninstall your anti-virus product or any security Windows products try again.
And Update Troubleshooter http://download.microsoft.com/download/F/E/7/FE74974A-9029-41A0-9EB2-9CCE3FC20B99/WindowsUpdateDiagnostic.diagcab and update the drivers also.
Method 4:- Delete/Remove the $WINDOWS. ~BT Folder:-
Instead of deleting the folder (it was not allowed), just rename the mentioned $WINDOWS. ~BT folder and started the Windows 10 update again. The steps are given below: –
- Launch File Explorer by pressing the Windows key + E.
- Open the partition of your computer’s hard drive (mostly C:\) that Windows 10 has installed on.
- Navigate to the View tab in the toolbar at the top of the File Explorer
- Enable the Hidden items to option by making sure that the checkbox beside it is checked.
- When the Hidden items option is enabled, you should see the folder named $WINDOWS. ~BT.
- Right-click on the $WINDOWS. ~BT folder,
- Click on Delete and confirm the action to delete this folder. You may see a message on your screen informing that you do not have permission to delete the folder.
- If so, simply dismiss the message. And then right-click on the $WINDOWS. ~BT folder, click on Rename, rename the folder to anything other than $WINDOWS. ~BT and press Enter. Renaming the folder has the same effect as deleting it.
Note: If you are unable to even rename the $WINDOWS. ~BT folder then try to delete it (or renaming) it in Safe Mode.
9. Now close the File Explorer and restart your computer.
This method will definitely solve the issue if not, you can visit our website:-
Or
https://www.facebook.com/pg/25dollarsupport/services/
1 comment
Run the SFC scan
Lastly, if none of the above solutions troubleshoots the upgrade error 0xc1900107, then try to run the SFC scan. This is the Windows inbuilt tool, which scans and fixes various system issues as well as the update errors tool.
Follow the steps to run the SFC scan:
Type CMD > in Windows Search
Now right-click and Run as administrator.
And type sfc/scannow, in the command line.
The process takes a couple of minutes.
Other methods found here on this website