Setting default printer Mac OS X. I am using a Mac OS X and I bought a new Epson printer for Mac. How can I set default printer on Mac OS X?
Setting default printer Mac OS X is very easy. Mostly, if you know that you have to use the same printer always, you may set that printer as your default printer. And it will be used each time you print from your Mac programs. Though, sometimes users may face issues while setting default printer for Mac OS X. Later on you can change it. Hence, we have given some easy steps to set default printer.
Method to Setting default printer Mac OS X
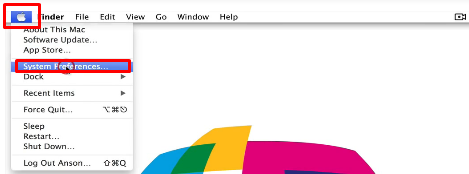
Step 1. To set default printer in Mac OS X, first of all click on the Apple icon on your Mac. And then choose System Preferences.
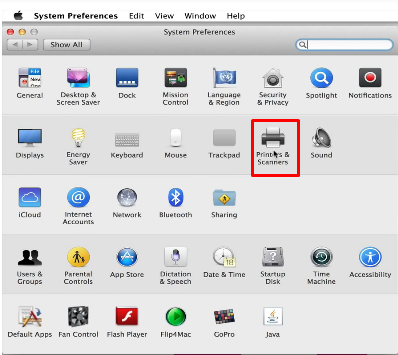
2. Now select Printers and Scanners from the list of tabs.
3. On the left pane, all the printers’ name will be shown that are on same home network. If your printers’ name is not there, simply just click on the Plus (+) tab on the bottom of left pane. And now click on Add Printer or Scanner.
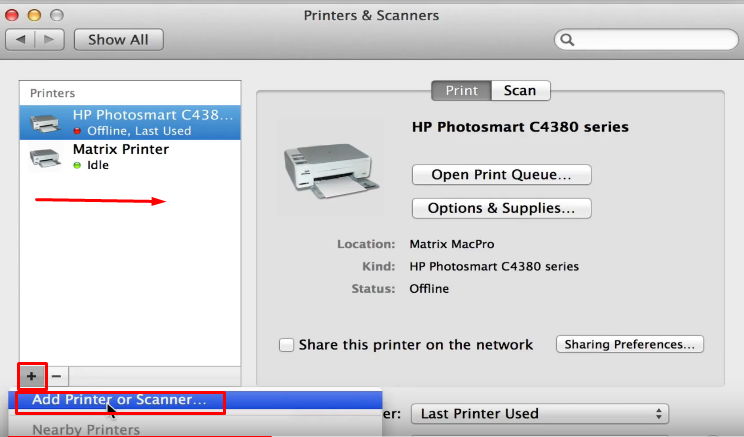
Now it will search only for those printers that are on the same wireless network.
Note:- Your Mac and printer both must be on same WiFi network.
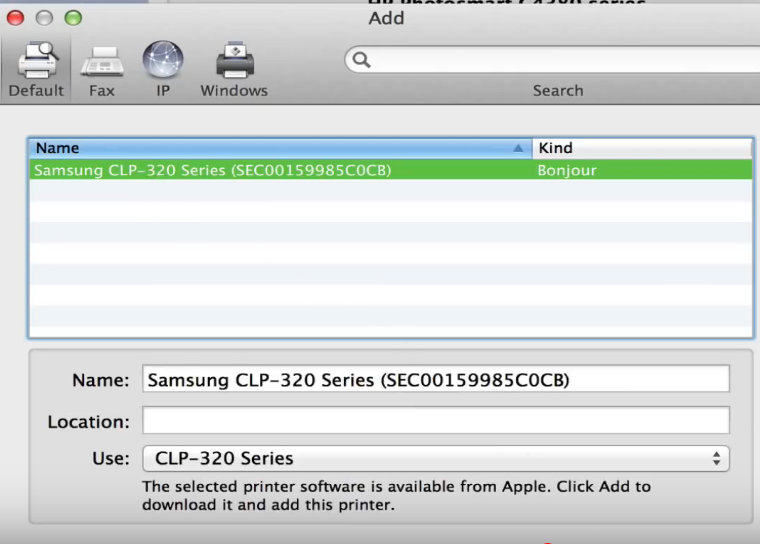
4. A pop up like window will open with the name of available printer’s on same network. Now click on the printer name showing in the box. For example Samsung CLP-320 in this case. And then click on Add button on the right end of the screen.
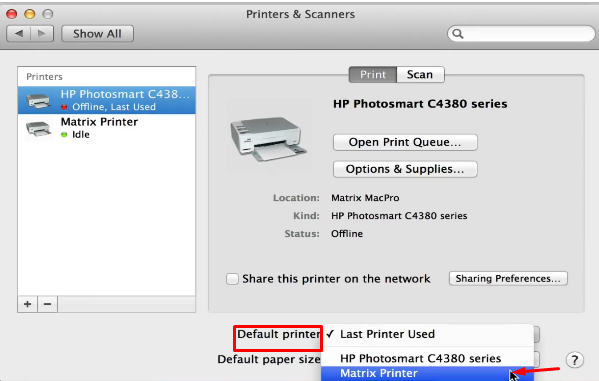
5. After adding the printer, you may set it to default printer. Click on the dropdown of Default Printer. You can choose printer name that you want to set default. However, Last Printer Used option is available for those who works in different workplaces. Here I have selected Matrix printer for my default printer. Finally, your printer has been selected as your default printer.
And after setting your default printer, just close the setting tabs. And by following these simple steps, you can set default printer for your Mac OS X. In conclusion, we must say that it is very easy and useful for users to set the printer default. Furthermore, you can follow these steps for normal windows also. However, some steps may be a little bit changed.
If you are still unable Setting default printer Mac OS X or facing any kind of issue in printers attached to Mac OS X, you can contact us.