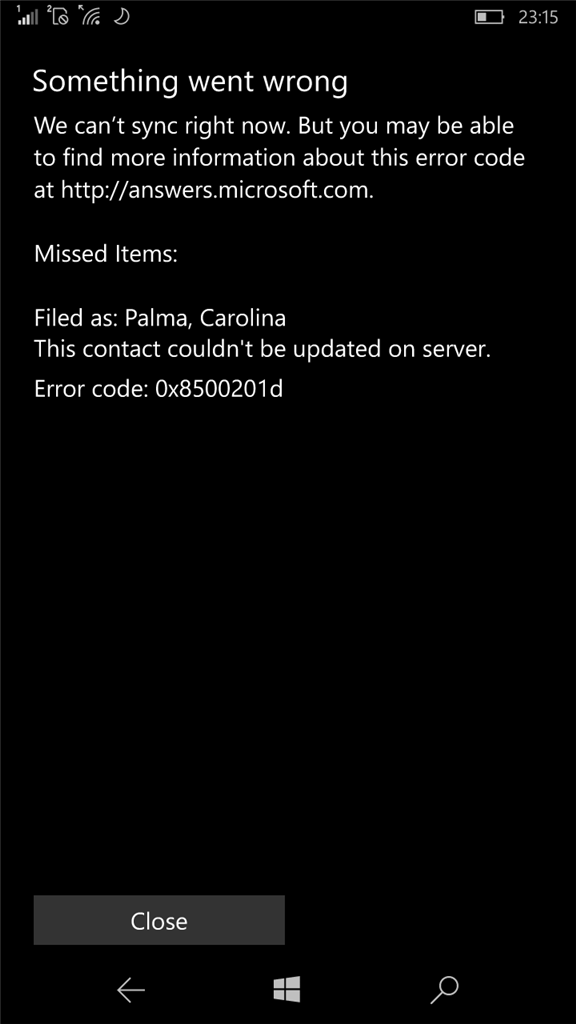
Yesterday, I was upgrading Windows, and it Error code 0xC1900201. And it is saying an error has occurred.
Error code 0xC1900201 is related with System Reserved Partition (SRP). When you install Windows 7 or later edition on a clean disk, the SRP is automatically created. Though Windows 7 installation creates SRP of 100MB, while Windows 8, 8.1 and 10 creates SRP of 350MB.
Generally, we shouldn’t mess with SRP and leave it as it be. That is why Windows hides it by default and don’t assign any drive letter to it. Hence, the SRP is only view-able with Disk Management utility and not via Command Prompt.
Method 1 : – Automatic Repair Tool: – Sometimes Error code: 0xC1900201 occurs due to corrupt files so you can try the first method.
1) First of all, download automatic repair tool from the link given below: –
Download (0xc1900201) repair utility.
2) Install program and click Scan button.
3) Click the Fix Errors button when scan is completed.
4) Restart your computer.
Method 2: – Using Command Prompt: –
Note: – Make sure you create a System Restore point before proceeding.
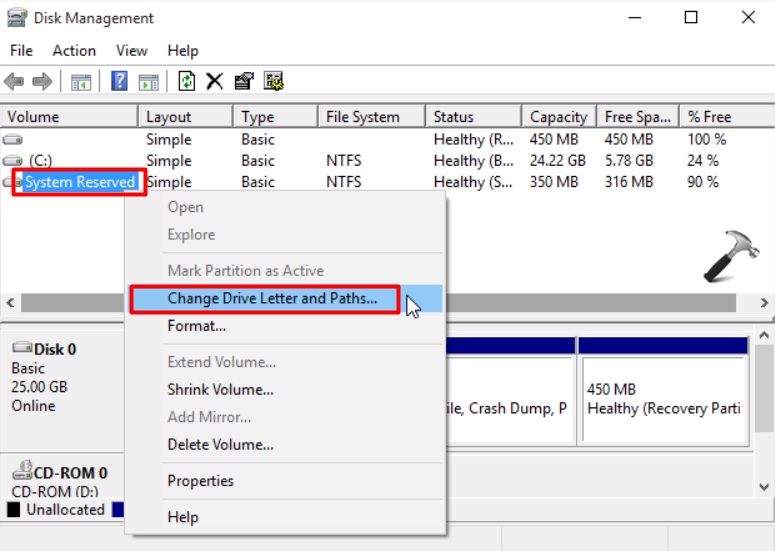
1. On your existing Windows installation, press  + R and put diskmgmt.msc in Run dialog box to open Disk Management. Locate the System Reserved Partition and right click it, select Change Drive Letter and Paths option.
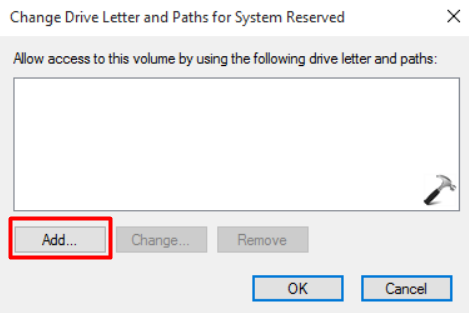
2. Then click Add on Change Drive Letter and Paths for System Reserved window:
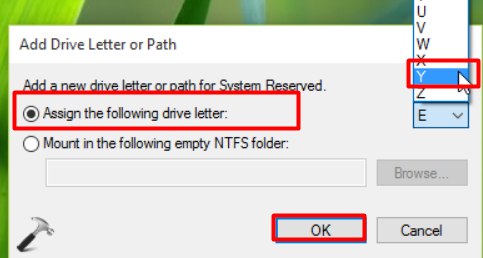
3. In the Add Drive Letter or Path, select Y from drop down against Assign the following drive letter option. In this way, we’ve assigned Y: as temporary drive letter to SRP and the partition can now be viewed via File Explorer. Minimize the Disk Management utility.
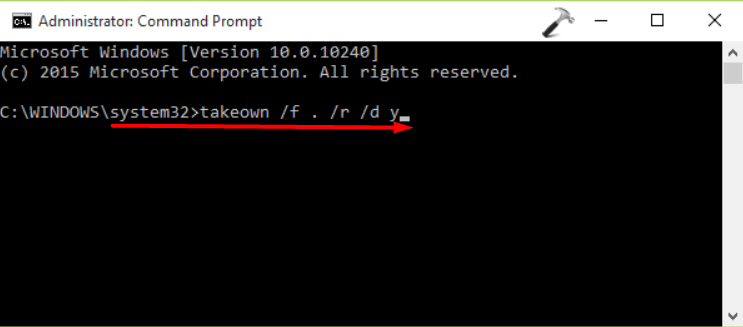
4. Next, open Command Prompt (admin) and type following command, press Enter key then:
takeown /f . /r /d y
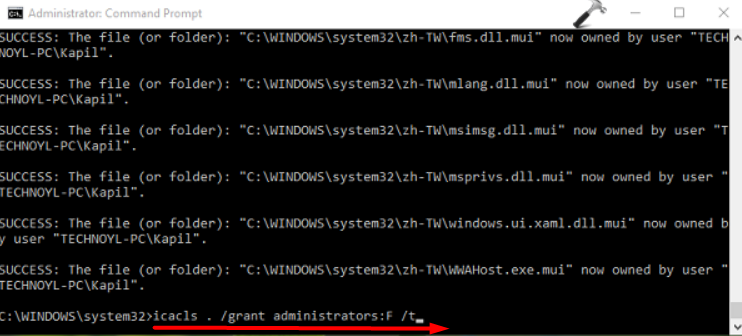
 5. Now once command mentioned in previous step successfully executed, type following command and hit Enter:
icacls . /grant administrators:F /t
6. Moving on, type command once previous command is executed:
attrib -h -s -r bootmgr

7. Finally, type this command followed by Enter key:
chkdsk Y: /F /X /sdcleanup /L:5000
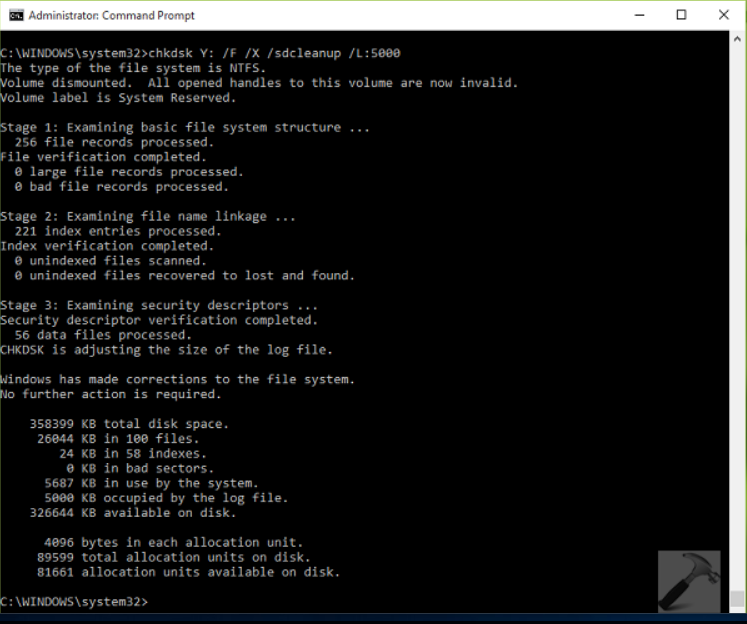
You can now close Command Prompt.
8. Open File Explorer by pressing + E and locate the System Reserved partition drive i.e. Y: drive. Make sure you checked Hidden items option under View tab of File Explorer‘s ribbon.
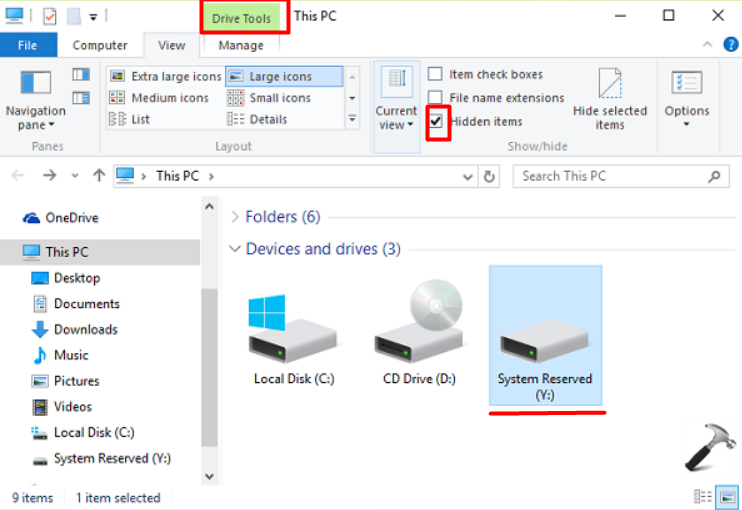
Inside Y: drive, find a folder named Boot. In Boot folder, you’ll have various language folders like en-US, en-GB etc. etc. You have to permanently delete (using Shift+Delete shortcut) all of those language folders except en-Us folder.
Now you can try to upgrade to Windows 10 and this should work.
9. Once you upgraded to Windows 10, come to Disk Management utility (step 1) and Remove the temporary drive letter under Change Drive Letter and Paths for Y: (System Reserved) window:
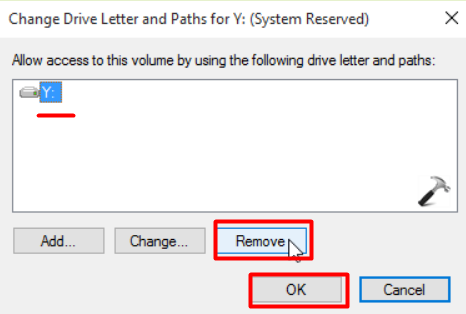
Lastly, provide you confirmation with selecting Yes option here:
If you are still unable to update windows and getting Error code: 0xC1900201 is still there, you can contact us.
1 comment
The problem that produced this error on my system was that the update had no room to write to the reserved partition. I used disk management to assign a drive letter to the reserved partition and discovered that somehow some of my data files had been written to the reserved partition. I deleted them, since they were duplicated, and when I reran the Windows Update, it completed successfully. My reserved partition size was 100 MB, and it was large enough without expanding it.